Digital Twin LTI 1.3 Guide
Advantage Registration for Canvas
Introduction
Canvas has recently introduced support for LTI Advantage Dynamic Registration, streamlining the LTI tool integration process to a single step. This groundbreaking feature enables Pria to offer a simplified onboarding experience for our LTI solution.
Key Benefits:
● One-Click Registration: Administrators can now effortlessly integrate Pria as an LTI tool with just one click.
● Personalized Digital Twins: Faculty members can create unique digital twins for each instance of Pria within their courses.
Adding Pria to Canvas (Administration)
This process needs to be done just once for your Canvas instance.
Developer Keys
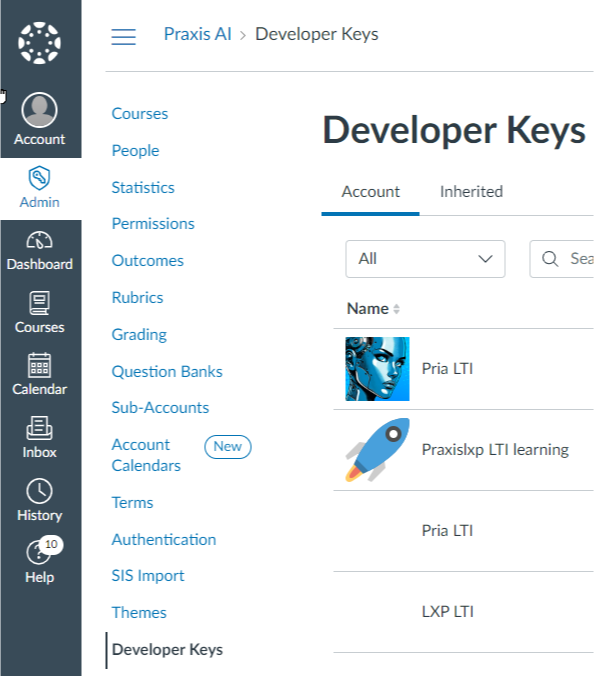
1. Log into your canvas instance, then go to the Admin -> Developer Keys section
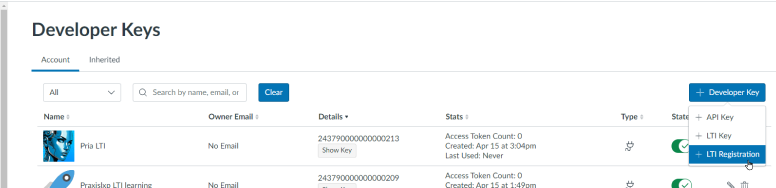
2. Under the Developer Key menu, select LTI Registration
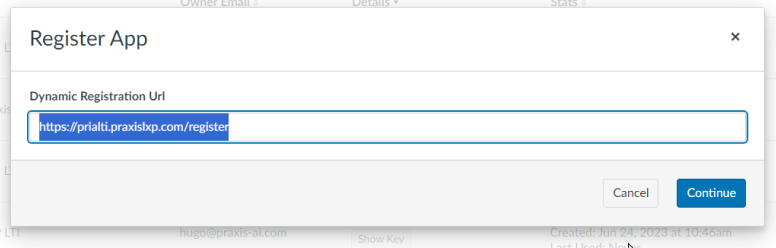
3. For URL, enter https://prialti.praxislxp.com/register, then click Continue
4. In the Register App modal, click Enable and Close to accept the default (or optionally, update the name of the placement to “Pria, Praxis AI” . This is the name that teachers will see when placing Pris in their course)
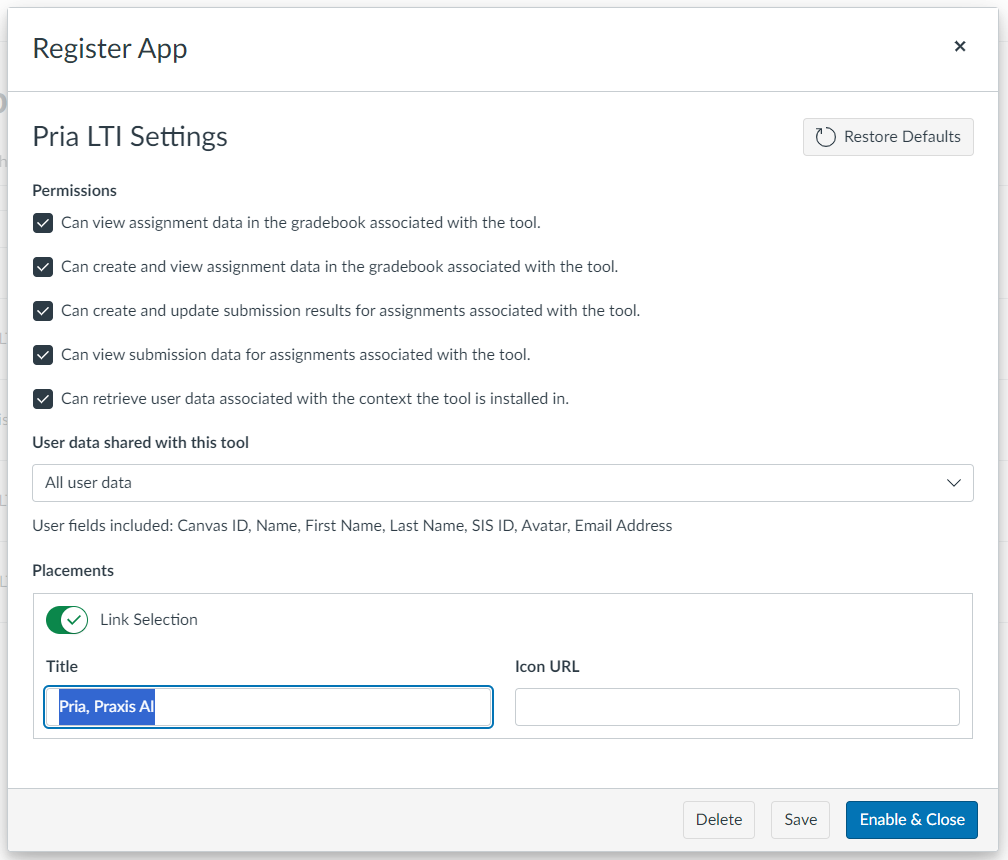
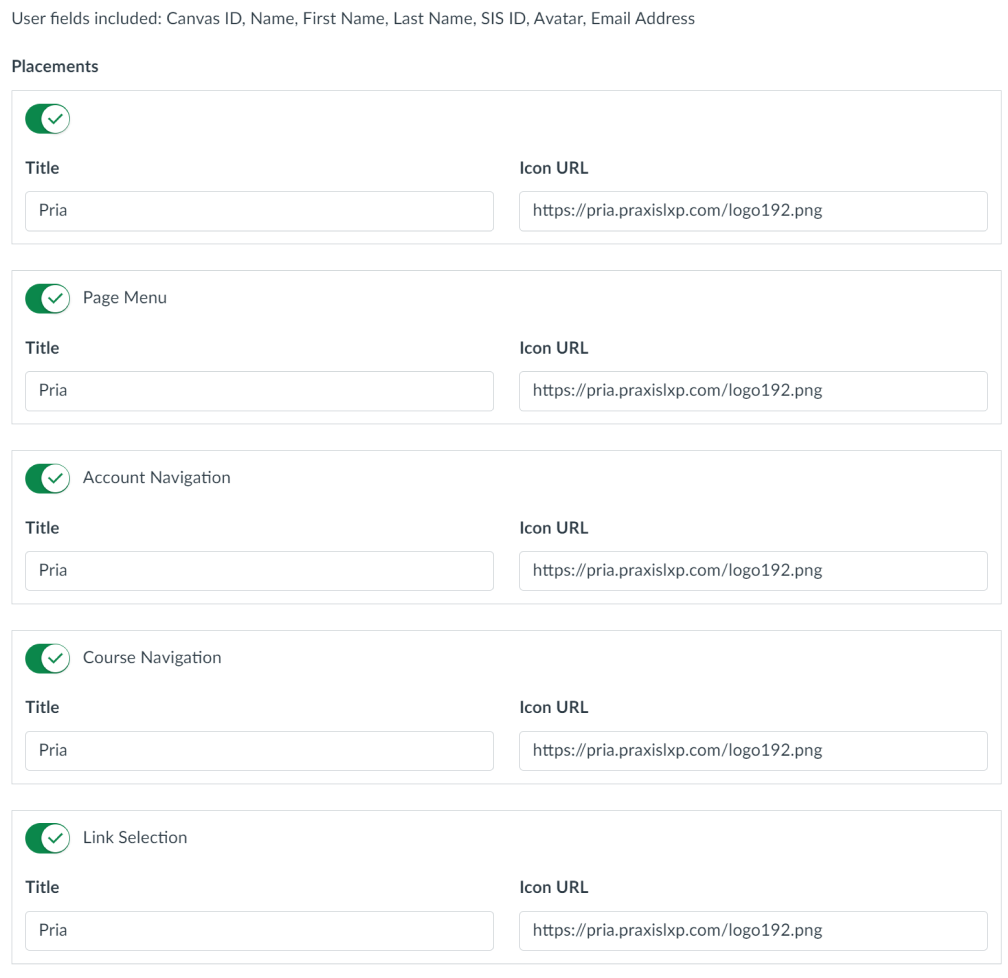
These are all the placements offered by the dynamic registration process.
Click Enabled and Close
5. Your new Pria LTI instance has been created:
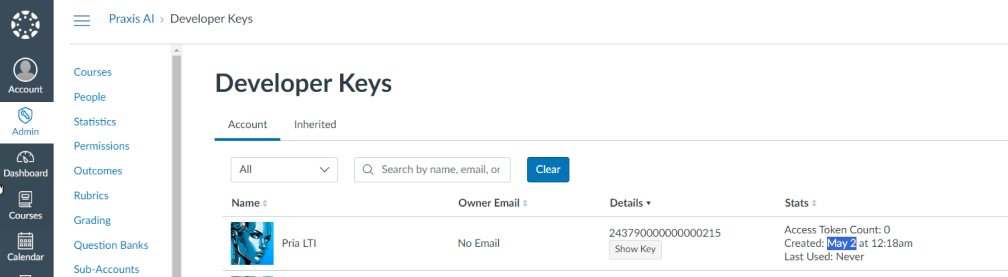
6. Copy the Client ID, here: 243790000000000213 into your clipboard
Manual Registration
As of July 2024, Canvas doesn’t offer to add or placements or edit the custom properties after the LTI component is installed through Dynamic registration.
Therefore, the manual process is possible if you want to use a specific instance of pria (public institution id) or better control the placements, such as to take advantage of the new ‘top_navigation’ placement, that places Pria in a drawer, similar to the wiki_page,
In the Developper Keys, create a new LTI Key, and setup the properties as below:
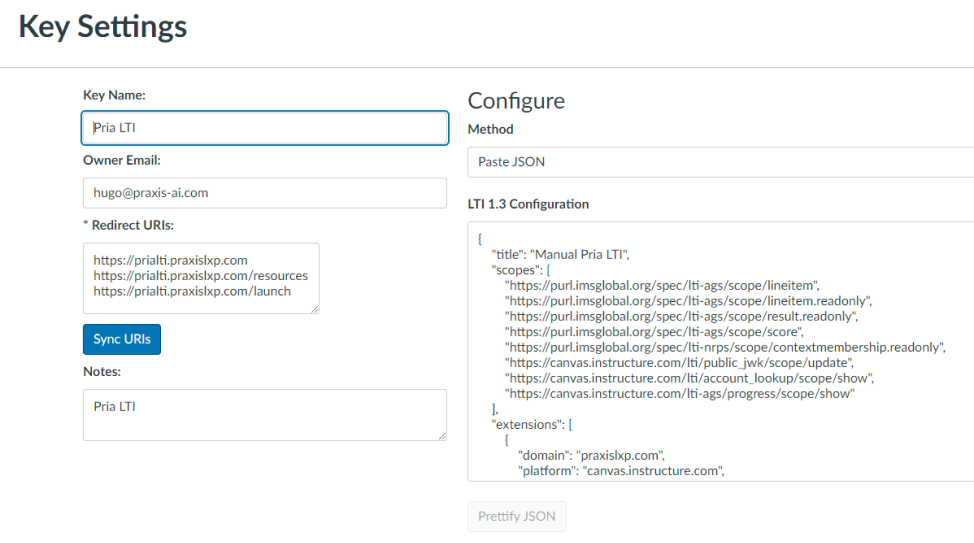
In the Method, select Paste Json.
Here is the JSON you can use to enter the configuration manually:

Update your priainstitutionid custom property to a valid instance id or leave AS IS to use the Digital Twin
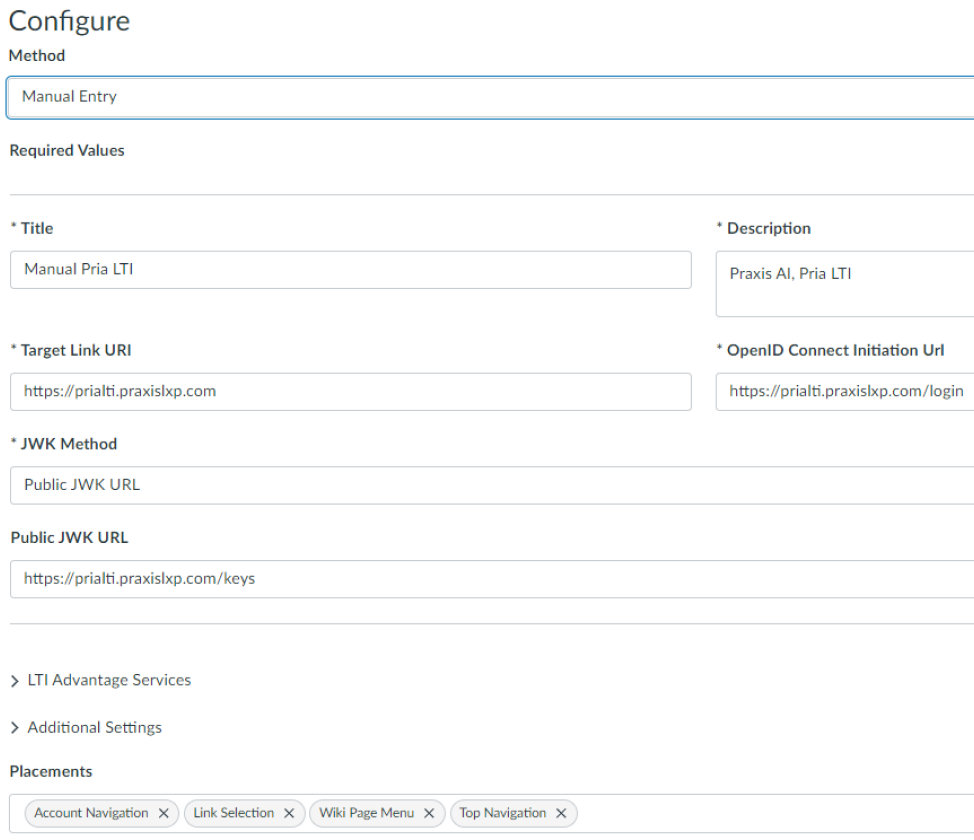
After pasting the JSON, and when you toggle back to Manual Entry, you will see that the placements include the new top_navigation
A complete guide to the manual setup is available on a Google Doc at
https://docs.google.com/document/d/1-HSJTOIjg9C5LFIVeO0bw_Ntnc0rOyKe9I-5djf8L3M/edit?usp=sharing
Registering the App
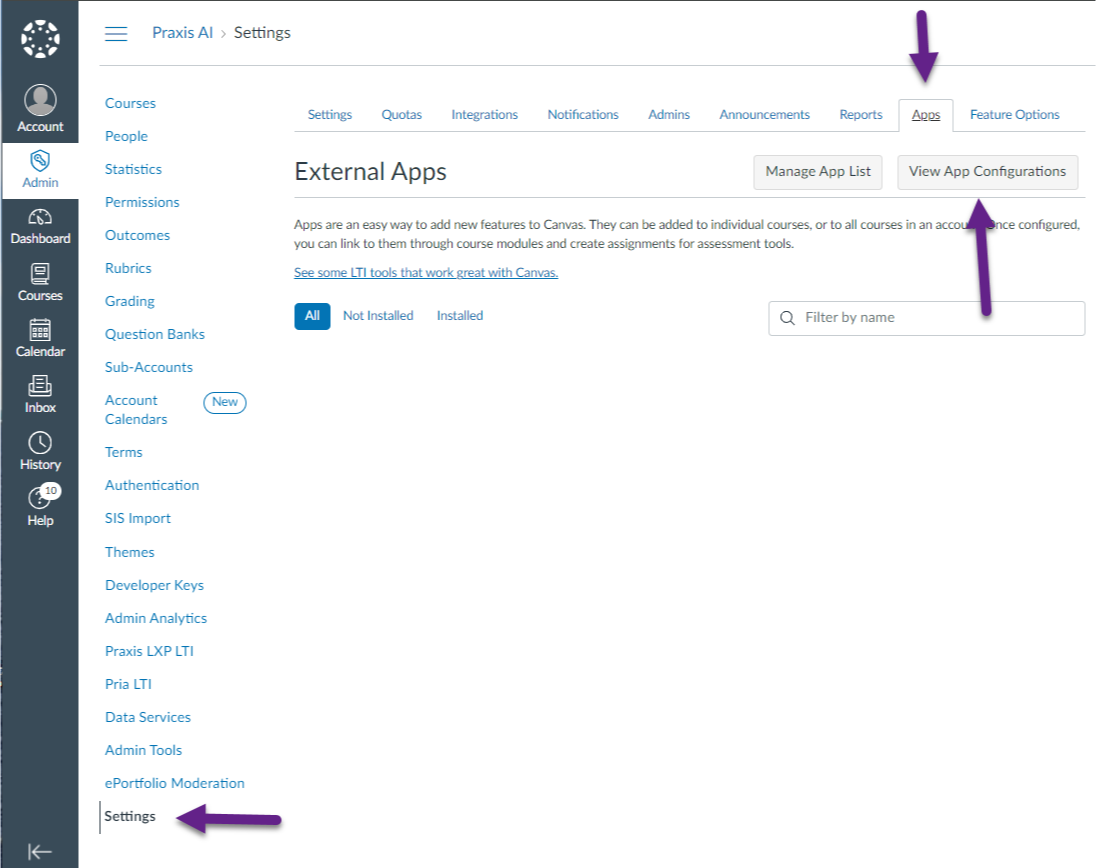
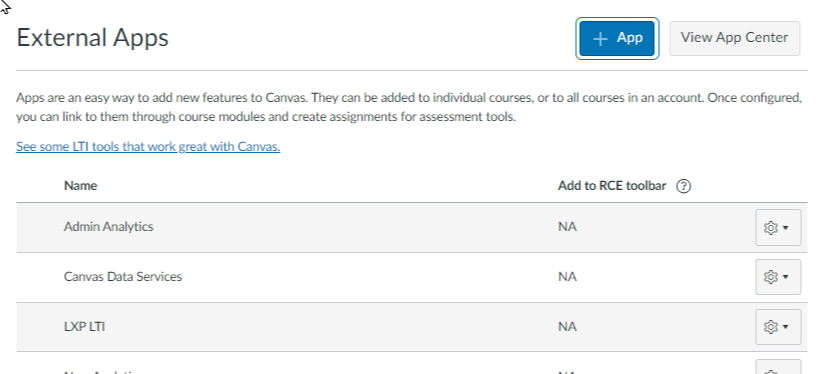
7. Go to the Admin -> Settings -> Apps and click the View App Configuration to add the component to your instance.
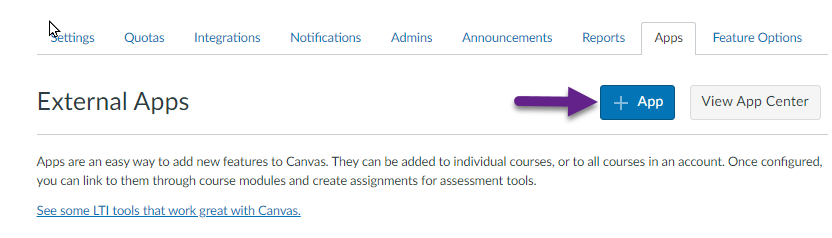
8. In the App List screen, click on + App to add an application
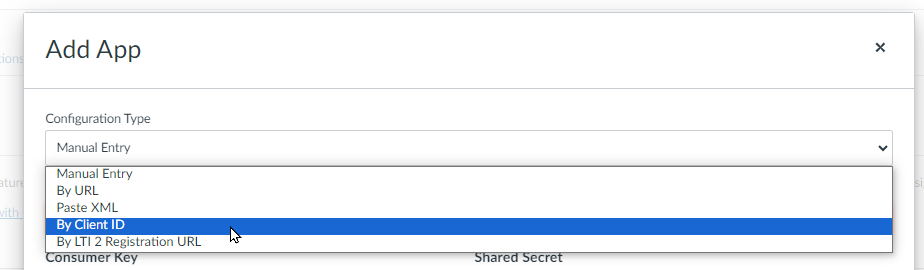
9. In the Add App modal, select By Client ID
10. Paste the Client ID of Pria you copied in the clipboard in the step above, ex: 243790000000000213
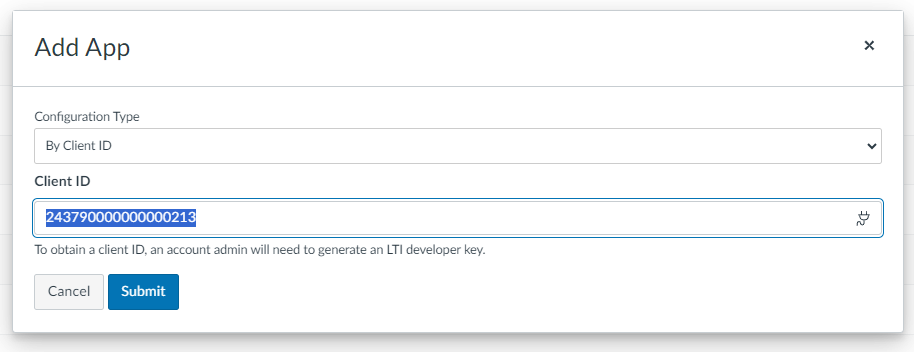
11. Canvas will find the LTI Application corresponding to the client ID you entered.
In the Add App modal, click Install

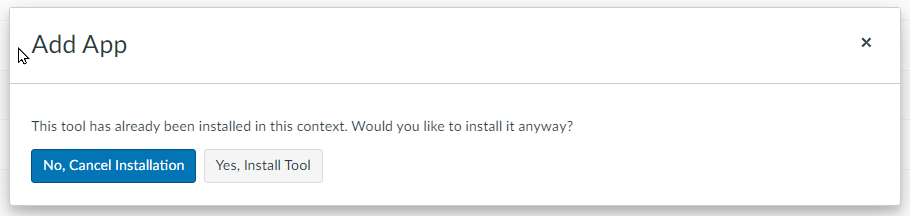
Note: If you re-install Pria, you will see this dialog. You can click Yes to install the new instance. This instance is different from the previous one since this new instance supports the new onboarding Digital Twin workflow.
12. Your Pria LTI application is now installed in your instance. It takes several minutes for Canvas to make this application available as a placement.
Create your new Digital Twin
This process is for Teachers, and expects that Pria has been registered as an LTI Application by your Administrator through the steps above.
Placing Pria in your Course
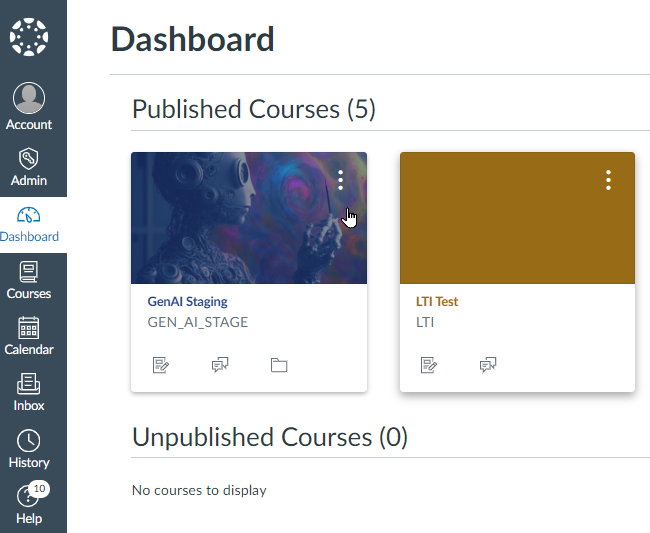
1. To start, go to your Dashboard then select your course.
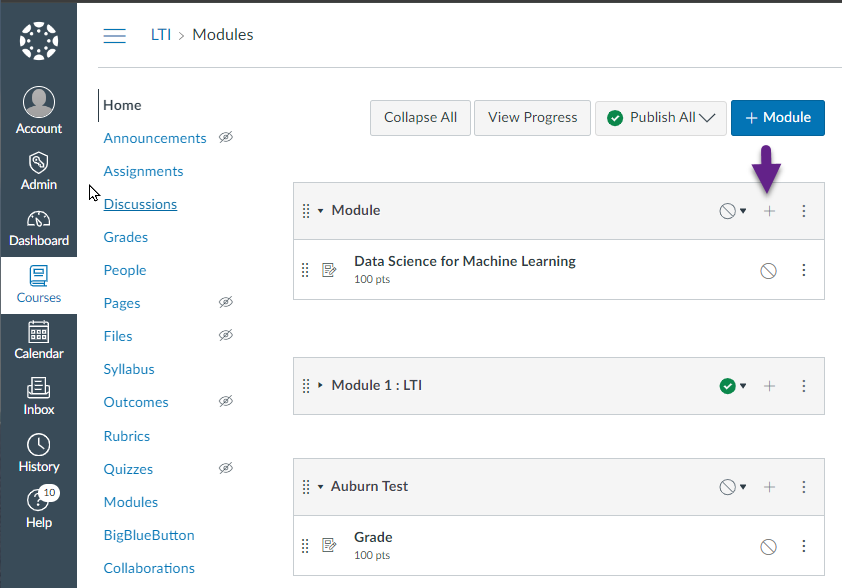
2. In your course, click on the + button inside a module to Add Pria as an activity
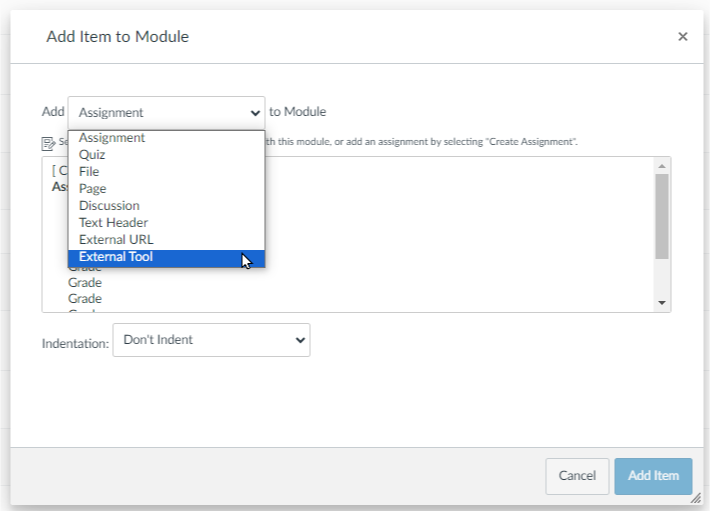
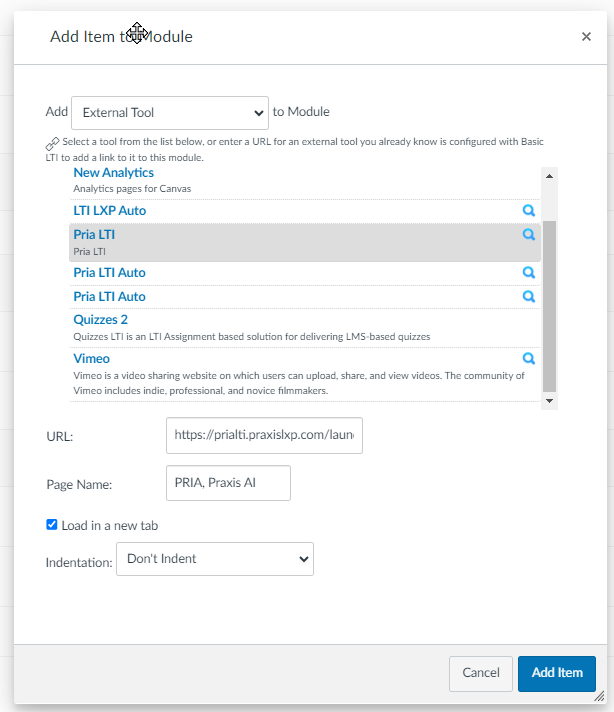
3. In the Add Item to Module modal dialog, select External Tool
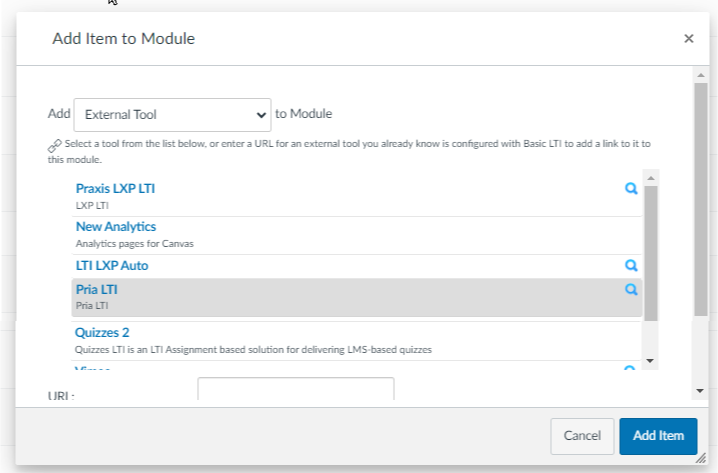
4. Select Pria LTI from the list of LTI Tools
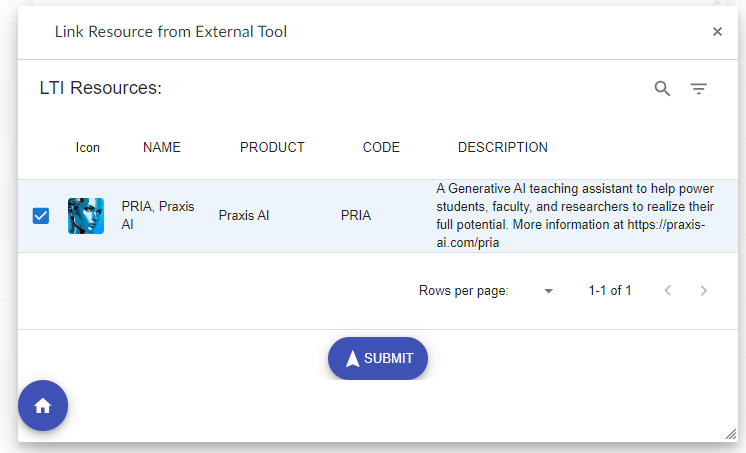
5. In the Link Resource modal, select PRIA, Praxis AI, then click the Submit button.
6. Back in the Add Item module, click the Add Item button
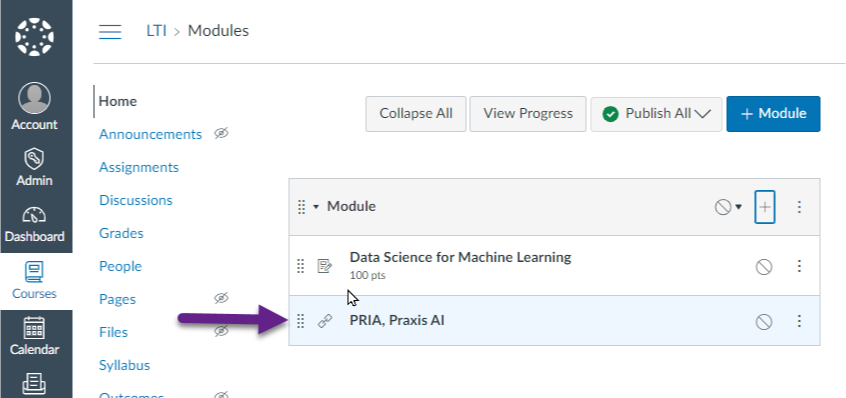
7. Pria has been added to your module. Click on Pria to launch.
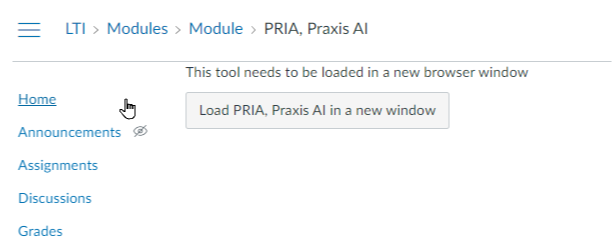
8. Pria in this modality has been defined to launch in a separate window, click the Load PRIA in a new window.
Create your Digital Twin
9. When Pria is launched for the first time by an administrator or teacher, click on the + Digital Twin button to create new and personalized instance or Pria
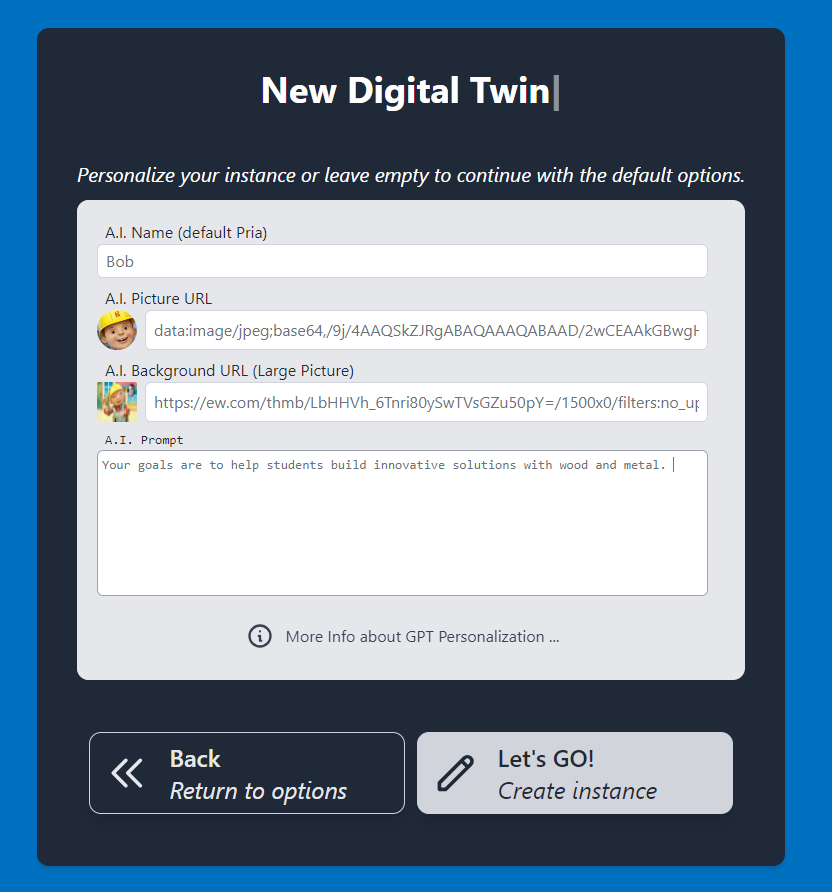
10. In the New Digital Twin dialog, enter
● a name for your twin, ex: Bob,
● a picture URL that is accessible on the internet (without CORS issues), and
● a picture to use for large backgrounds
● An A.I. prompt that personalizes your character (more information is available in the Faculty Guide )
Click Let’s GO to finish the creation of your new instance.
11. You are now in your digital twin instance:
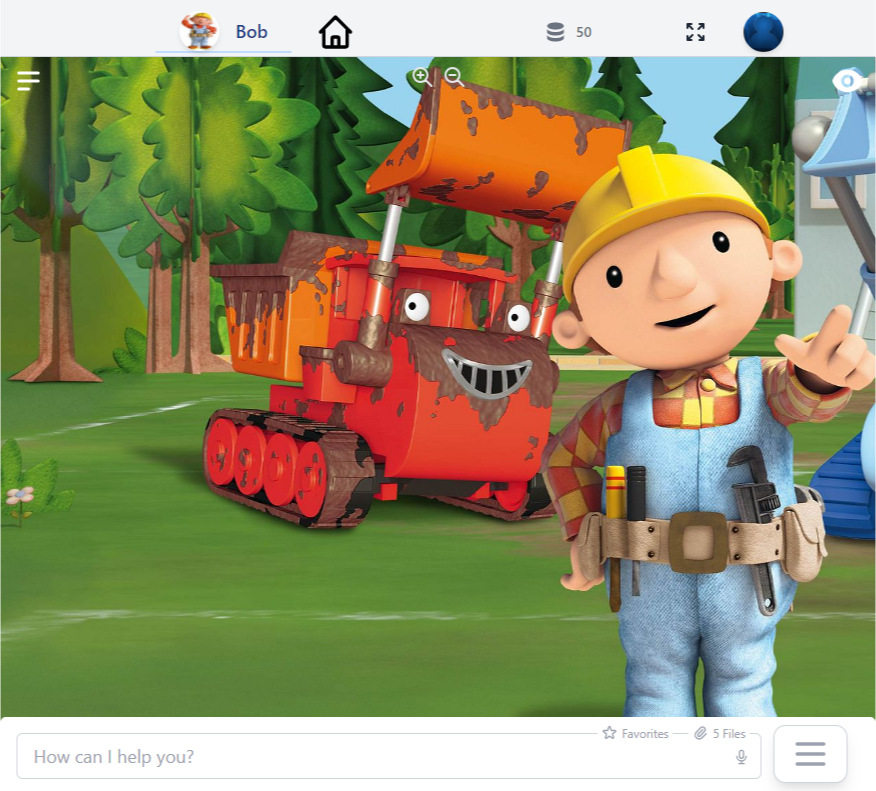
12. Congratulations, you just created your very first digital twin.
a.Anytime you or your students will click on Pria, they will access this instance directly.
13. When you place Pria LTI in another course, or create a different instance, the onboarding wizard will offer to reuse one of your instances or create a new one for this placement.
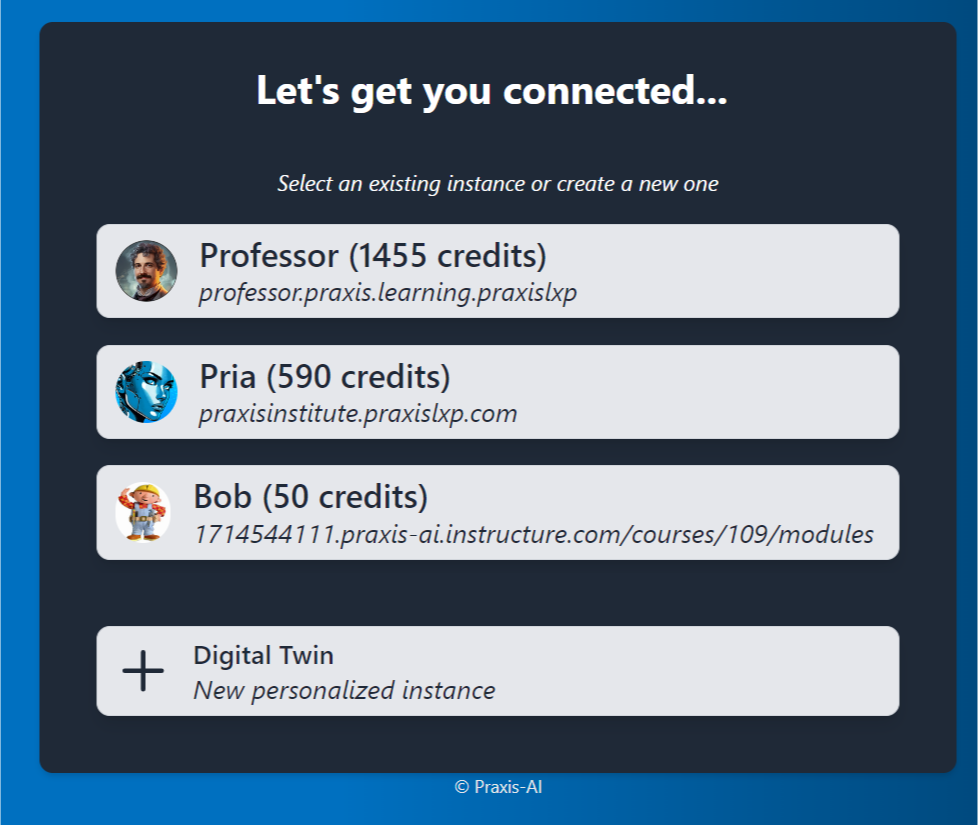
Selecting an existing instance will associate this placement to the instance. This can not be changed later. To change it, remove the Pria activity, and create a new one.
More Personalisation Options
More information on Admin functions is available in the Faculty Guide to your Digital Twin at
https://learning.praxislxp.com/praxis/faculty-guide-to-your-digital-twin/#GPT_and_Personalization
Click on the GPT and Personalization Tab. This page is where you can update any personalizations for your digital twin.
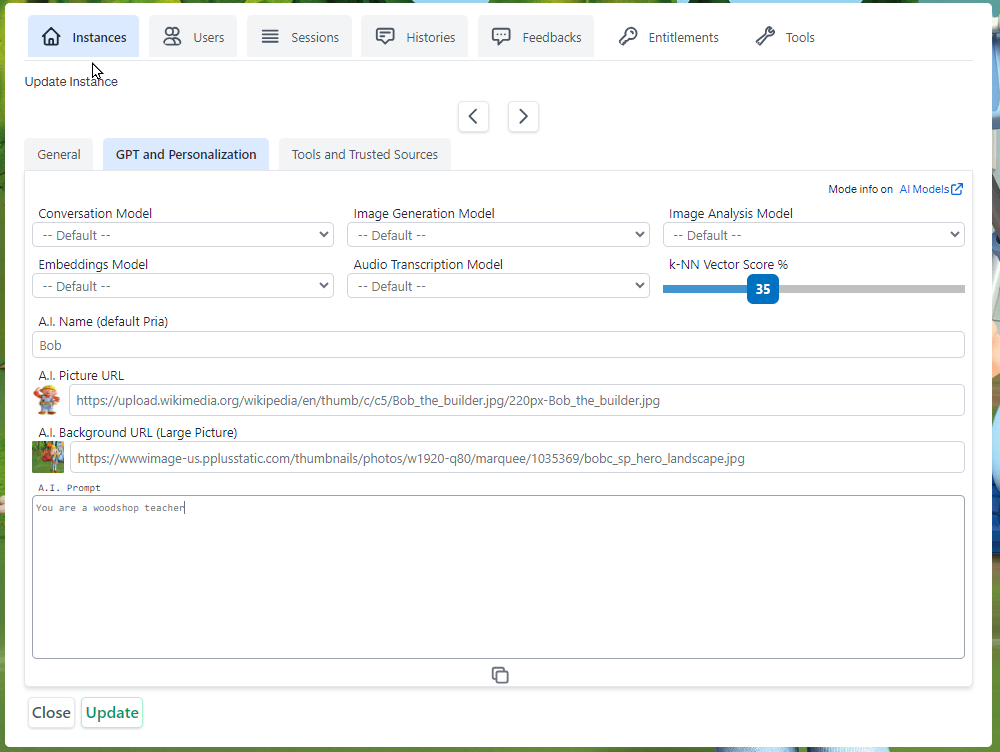
Don’t forget to click the Update button to save your changes.
Student Access
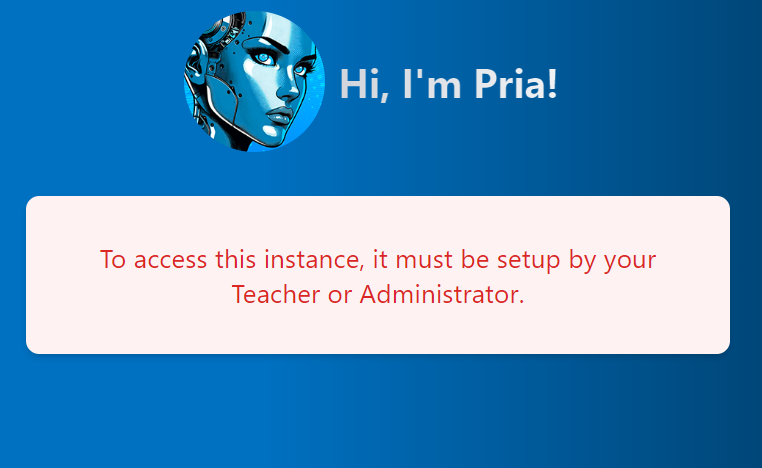
Students will automatically join your digital twin once you have placed Pria in your course, launched and completed the creation wizard the first time.
If your student attempt to access Pria, but your instance has not been created, they will receive this message
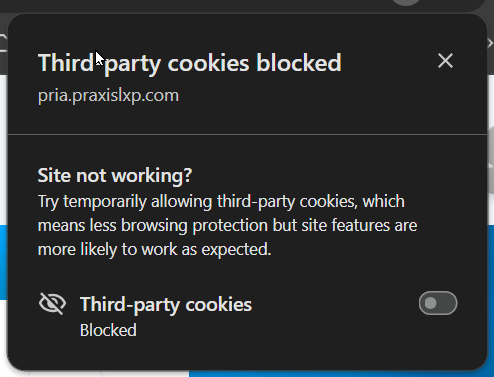
When the browser is running in Incognito mode, or Cookies are been blocked,due to recent updates in browsers and how they handle third party cookies, it may prevent LTI from launching properly.
As a result you can receive an error similar to the one below:

You may need to allow third party cookies and retry.